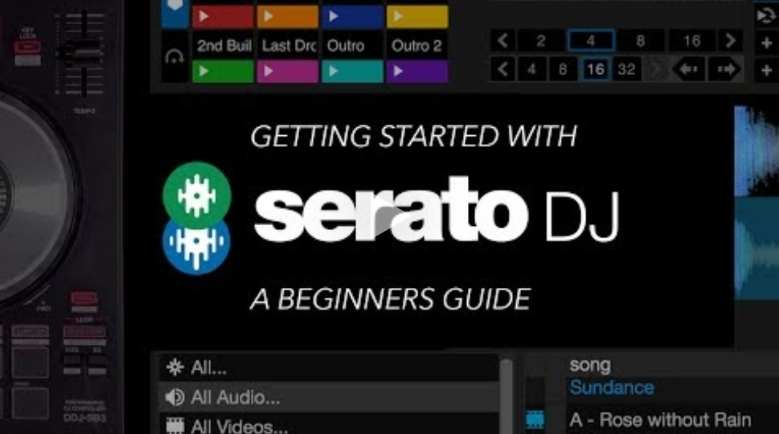
So, You’ve settled on a DJ controller that’s compatible with Serato. Congratulations, that’s a wise choice. There’s a reason why it’s the most popular DJ software in the US. No other software offers such a deep and intuitive interface for mixing with controllers and laptops.
Bursting with essential and practical features, such as Serato Crate, the ultimate audio file management system, Serato is going to form the foundation of your musical identity from which you can develop your skills and perhaps even build a career.
However, before you can get the world dancing with some sick scratching and bumping beats, you need to learn the basics, and it doesn’t get any more basic than connecting your Serato-primed DJ controller to your laptop.

Connecting A Serato-Ready DJ Controller To Your Laptop — A Step-By-Step Guide
The good news is that it’s incredibly easy to hook up your new controller to your laptop; however, for clarity’s sake, I’ll split the process into discrete digestible steps. Sound good? Fantastic; let’s get to it!
Step 1. Fire Up Serato
I’m betting that you’re going to want to get tactile and start playing some music with your controller as soon as it’s plugged into your laptop, so before you wire anything up, it’s a good idea to organize and prepare some music in Serato.
There are a number of ways you can do this, but the integrated “Crate” system is a great way to start. To add a crate…
- Click the little yellow crate icon near the top left of the interface. The crate will then appear in your file list below.
- Double click it to give it a unique name, then click the “Files” button at the top right-hand side of the screen. This will access your computer files through the software, saving you routing around for them separately.
- Once you’ve found your files, simply drag and drop them into your new crate.
Alternatively, you can source music via one of Serato’s partnered streaming services, accessible via the gear icon (settings) / Library + Display / Music Streaming.
Okay, so you’re almost ready to start connecting your controller to your laptop, but first, you should analyze any of the audio files you dragged and dropped from your computer into a Serato crate. You can do so by…
- Clicking on a crate.
- Selecting individual or all of the tracks in the crate.
- Dragging and dropping them into the small “Analyze Files” tile in the top left-hand corner of the screen.
Serato will then check for file corruptions, calculate keys and BPMs, and create beat grids for the tracks.
Step 2. Powering Your Controller
Some DJ controllers are bus-powered, meaning they get all the power they need from your computer — no adapter necessary! Others do need to be plugged into a mains outlet. If that’s the case for your controller, look for the included adapter, and plug it in.
Step 3. Connecting Your Controller To Your Laptop
Almost all controllers utilize a USB connection to link up to laptops and computers, so that’s what you’ll need. If you don’t have a USB cable, you can buy a reliable model for a sweet price here.
Plug one end of the USB into your controller’s USB port, plug the other end of the cable into your computer’s USB port, and voilà; you’re in business!
You’ll notice that the Serato UI shifts a little, but it’s nothing to worry about. In fact, it’s a good sign. It shows that Serato has registered your controller and is rearranging its UI to enhance compatibility.
Step 3. Connecting Your DJ Controller To An Audio Source
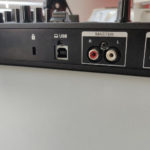
So far so good, but if you actually want to start mixing some music, you’ll have to link your controller to an audio source. To do so, you’ll need one of these RCA Adapter Audio Stereo Cables. Once you’ve got one…
- Plug the red cable into the red port of your controller.
- Plug the yellow cable into the yellow port of your controller.
- Plug the AUX end of the cable into your sound source.
How Do I Use A Midi Controller With Serato DJ?
If you forked out for an all-in-1 controller, then chances are it’s got some form of midi capabilities, like this Roland Two-channel Serato DJ Controller. These facilities typically come in the form of a pad grid or perhaps a few faders or dials.
These controls will all have a function out of the box but can be reassigned features unique to the Serato software. Here’s how it’s done…
Step 1. Open Serato.
Step 2. Power up your controller and connect it to your laptop.
Step 3. In Serato, click the gear icon in the top right-hand corner of the screen to open settings.
Step 4. Click “Midi” from the menu rail at the top of the window.
Step 5. Check that your controller is in the “Midi Devices” list.
Step 6. Click on the “Allow Serato Hardware Remapping” check box at the top of the Midi Devices list.
Step 7. Head back to the main Serato UI, and click the “Midi” tab to the left of the gear, “Help,” and “My Serato” tabs. This will open “Midi Assign” mode.
Step 8. Select the Serato software feature you’d like to map, then tell it where to go simply by pressing, turning, or moving the desired midi control.
If you want, you can assign more than one Serato feature to a singular midi control by selecting the feature, interacting with midi control, then pushing” A.”
Or, if it suits you, you can even map the same Sorato feature to multiple midi controls by holding shift when selecting the already mapped feature, then interacting with a different midi control on your controller.
Summing Up
There you have it, folks. You’ve hooked your DJ controller up to your laptop, you’ve learned how to customize the integrated midi controls… there’s nothing left to do but practice your craft, book some shows, and fill some dance floors!
We hope you love the products we recommend. We may collect a commission if you purchase through one of our links. This doesn't cost you anything extra. If you do, thank you! As an Amazon Associate, I earn from qualifying purchases.


