No doubt about it — it’s tough setting up your first DJ system when you’re starting out. There’s a lot to consider, a lot to research, and, unfortunately, a lot of cash to spend.
Figuring out what hardware and software you need is difficult enough, but putting it all together once you’ve got it can be the straw that broke the camel’s DJ’s back.
If I had a nickel for every time I bought a piece of hardware, then spent my entire evening trying to figure out which cables go where, I’d be one rich son of a mix!
Sometimes, it took me a few days to even get a sound out of a new piece of gear — it’s time-consuming, demoralizing, and it’s enough to drive any burgeoning DJ completely insane. Not to worry, though, friend — I have lived the mistakes, so you don’t have to.
In this article, I’m going to guide you through all there is to know about setting up your first DJ system. I’ll be covering the gear you’ll need to get started, and how you can link it all together into a veritable beat blasting monster! Let’s get to it.
What You’ll Need
I’d like to preface this section of the guide by mentioning that there are a number of different types of DJ setups. It all depends on the gear you use and how you like to operate.
It can be as streamlined as a laptop, software, headphones, and some speakers, or you can flesh things out with decks and a mixer, or perhaps an all-in-one controller.
Unfortunately, I can’t go over all the possible setup options, as I’d still be writing this come Christmas, so, today, I’m going to guide you through what I consider to be a basic, yet club-ready setup.
By doing so, I’ll be able to cover the most ground, and help as many people out as possible; however, I’ll list a few common alternatives as we go. Sound good? Good…let’s begin.
For the system I’ll be talking about today, you’ll need…
Decks (CDJs)
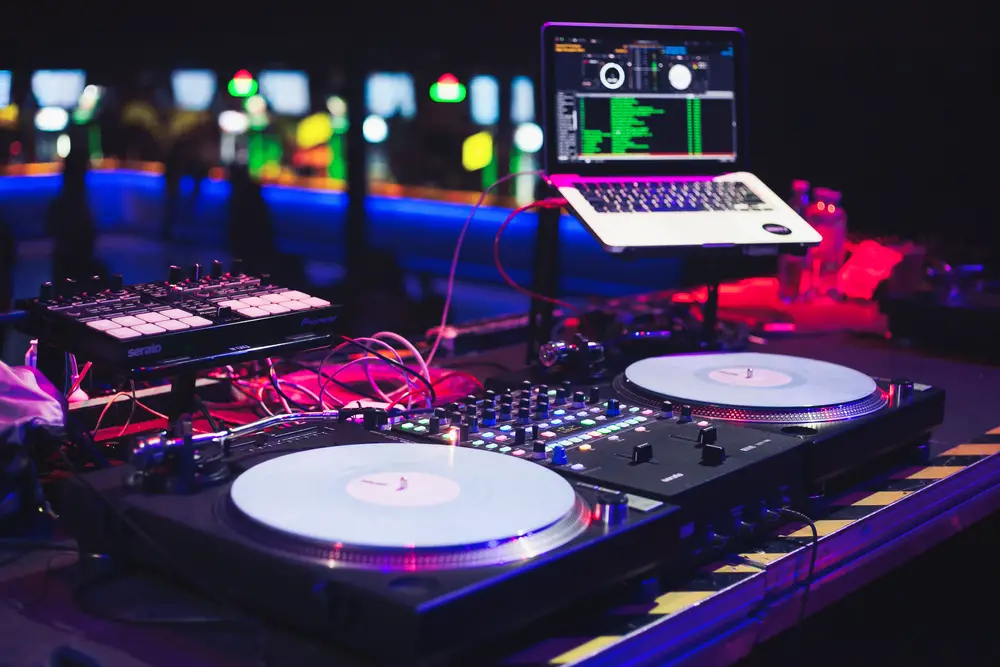
As I’m sure you’re aware, decks represent the turntables of old, and they’re what you’ll use to interact with and play the music.
You’ll need two of them, which can be pricey, but I’ve got some good news for you… If you use CDJs, you won’t need a laptop (although some DJs do still use one).
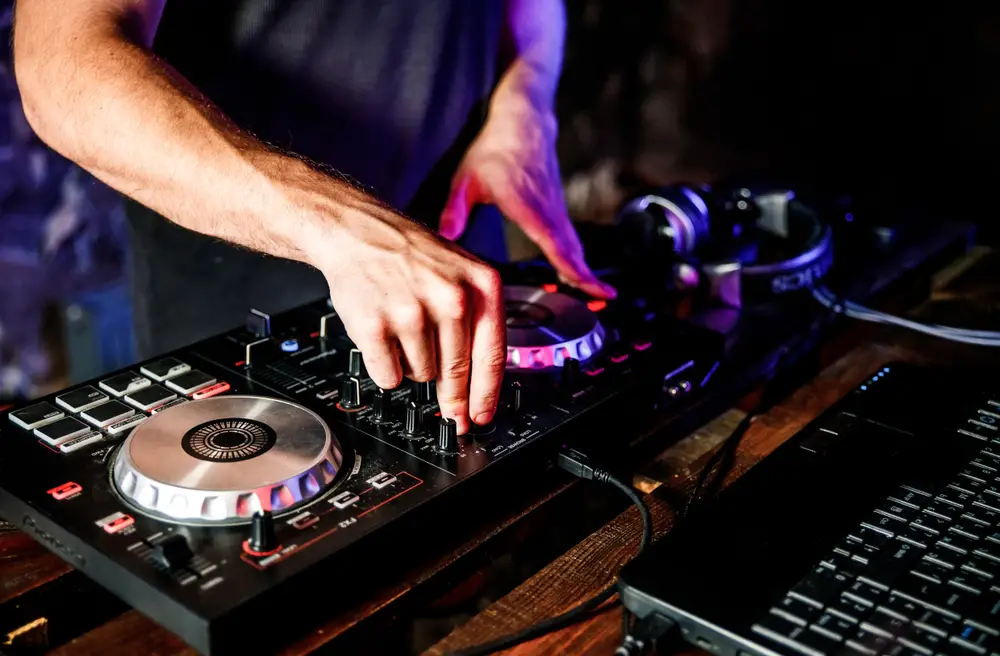
If you choose to use a DJ controller like the Pioneer DJ DDJ-400, you will need to hook it up to a laptop and some software before you can play a show.
This isn’t the case with all DJ controllers, as some feature USB support (like CDJs), but generally speaking, controllers and laptops go hand in hand.
A Mixer
You can think of the mixer as your control hub. It allows you to manipulate multiple audio signals, and EQ your audio output. If you’re not sure what they look like, set your peepers on this Pioneer DJ DJM-S3.
Now, again, if you have chosen a DJ controller rather than discrete decks, the rules are slightly different.
DJ controllers are basically two decks and a mixer mashed together, so you don’t need a separate mixing console; however, most basic controllers can be routed through an external mixer if need be.
A LAN Hub
A LAN hub is kind of like the messenger pigeon of the setup. It allows your decks and mixer to communicate with one another.
A Pair Of Monitors
Monitors are the speakers that you’ll have facing you during a show. They allow you to hear the mix clearly over the in-house noise, so you can mix and beat match with precision.
A Master Output
If you’re playing a gig, your audio signals have to go through a master output, which will usually be some sort of monster in-house sound system, so you may not need to own one yourself (although wedding and party DJs might)
Headphones
Y’all know what these are and what they’re for, so I’ll go ahead and skip the description. If you’re unsure what DJ headphones to go for, I’d recommend the Sennheiser Pro Audio 25, as they’re considered the industry standard.
A USB Storage Device
This is just for making sure your CDJ firmware is up-to-date.
Cables
- 2 x stereo RCA phono cables.
- A high-quality USB cable (for DJ controller setups only)
- 3 x Ethernet cables
- 2 x XLR cables
- 2 x 1/4 Inch balanced TRS line cables (instrument cables)
- 2 x 3.5 mm mini jacks (In case your gear doesn’t support LAN connections)
- Power cables. These should arrive with your hardware, so don’t worry about sourcing them independently.
Setting Up Your DJ System
Okay… you’ve got all the gear; it’s time to get down to business and set it all up!
Step 1. Placement
Before we get tangled in cables, it’s best to set our gear up in the appropriate locations. Typically, you’ll have your mixer directly in front of you on the desk, with one CDJ on either side of it. Scooch them together, so the edges of each unit are touching.
You should have one monitor on either side of your CDJs, and they need to be angled in towards you. Your LAN hub can just sit to the side of the desk somewhere out of the way.
Step 2. Plugging Everything In
Get all your hardware plugged into a power source, but don’t turn them on just yet.
Step 3. Connecting Your Decks to Your Mixer
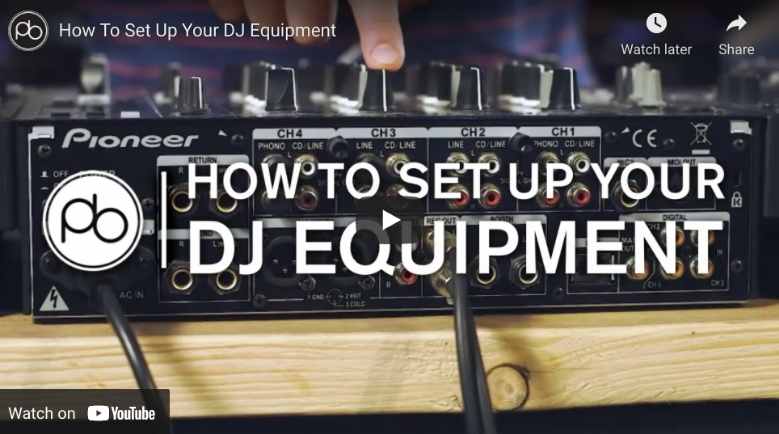
If you look behind one of your CDJs, you’ll see two inputs next to one another: one red and one white. These match up with the red and white ends of your stereo RCA phono cable.
Looking at your mixer’s I/O interface, you’ll see it has a number of channel inputs (also red and white). Each channel can control one device, so each CDJ requires its own channel. We’ll be linking them all together with the RCA cables.
Don’t be intimidated by the fact that there are four RCA inputs for each channel. Just follow these steps…
- Plug your RCA cable jacks into the corresponding red and white ports of one of your CDJs
- Decide which mixer channel you want to run the CDJ through. It’s best to use the channel that’s on the same side of the mixer as the CDJ.
- You should be able to see 2 vertically oriented RCA inputs (4 ports) per channel on the back of your mixer. One will either be labeled “Line” or “Phono”, and the other will be labeled “CD/Line”. For connecting CDJs or DJ controllers, you only need the ones labeled “CD/Line”, so ignore the others.
If you were using only analog turntables or perhaps wanted to use both analog and CDJ decks, the analog devices would go in the Phono channel ports.
The reason is, analog signals are weaker than their digital counterparts, so the Phono channel uses a built-in preamp to give them more juice.
- Plug the other ends of the RCA cable into your chosen channel’s corresponding red and white CD/Line ports.
- Rinse and repeat with your other CDJ, and voilà; that’s this section sorted!
If you’re using a DJ controller, ignore everything you just read, and simply connect your controller to your laptop via a USB cable.
Step 4. Input Selection
Here’s a nice quick step for you to take the edge off all that cable work you just did. At the top of each channel interface on your mixer, there should be an input selector. It’s usually a dial with the channel input options printed around it, e.g. “Phono”, or “CD/Line”.
As we’re plugged into the CD/Line ports, that’s what we need to set the input selector of our chosen channels too.
Step 5. LAN Connections
If you wanted to, you can simply connect your CDJs with a single Ethernet cable. This will enable you to process the tracks from a USB storage device plugged into one, on the other.
But, if your Mixer has a LAN port, it’s recommended that you link all your hardware to a LAN hub, for perfectly quantized inter-device communication.
To do this…
- Locate the “Link” port on the back of one of your CDJs, and plug in one end of the Ethernet cable.
- Plug the other end into the LAN hub.
- Repeat this process with your second CDJ and your mixer.
Side-Note — Some DJ mixers have multiple LAN ports, in which case, you would not need the hub, as you could run your CDJs directly into the back of the mixer.
Side-Note n.2 — Older CDJs do not support LAN, so if you can’t find a “Link” button or port, you can skip this step entirely.
Step 6. Fader Activation
If your mixer and CDJs support the LAN connections we were just discussing, then you’ll need to consult the mixer manual, as you’ll have to do some menu-diving to activate your fader start function.
If your gear doesn’t support LAN, then all you need to do is find the mini jack ports on both your CDJs and mixer and connect them with some 3.5mm cables. This will automatically activate the start function, so you can use the fader to activate cue points.
Step 7. Connecting Your Mixer To The Main Audio Output
Behind your mixer, you’ll find a couple of large ports labeled “Master” or “Master 1”. These are the ports you’ll be using to link your setup to the in-house sound system, and it goes a little something like this…
- Plug your XLR cables into both Master ports.
- Plug the other ends into the XLR ports of the primary sound system.
Now you’ll be able to control your master mix from the dedicated “Master” section of your mixer.
Side-Note — This step is the same for both CDJs and controllers.
Step 8. Connecting Your Monitors To Your Mixer
Behind your mixer, you’ll see a little panel of two ports labeled “Booth”. These are for linking your monitors to your mixer.
- Take your 1/4 cable, plug one end into the port on the back of your monitor labeled “Balanced TRS” (or something akin to that), then feed the other end into the nearest Booth port.
- Rinse and repeat with your second monitor and the remaining Booth port.
Now you can control your monitor levels with the dedicated “Booth” section of your mixer.
Side-Note — This step is also the same for both CDJs and controllers.
Step 9. Updating CDJ Firmware
Here’s another step you’ll need to flick through your user manual to complete. Before a show, it’s always a good idea to check your CDJs are running on the latest firmware.
The general process involves downloading the update on a computer, uploading it onto a USB stick, then feeding it into the CDJ via the stick.
Step 10. Powering On And Testing Your Setup
Phew… it’s been a hell of a journey, but we’re finally ready to turn your gear on and see if everything’s working. Here’s the order you should follow…
- Turn all mixer levels down.
- Turn on mixer.
- Switch decks on.
- Check input channels are correct.
- Plug the USB with your tracks on into one of your CDJs (there’ll be a brief initiation period)
- Check monitor volume isn’t set too high on the back of the units.
- Turn monitors on.
- Play a test track and adjust your gain level with the volume still down.
- Check the LEDs on your mixer are showing the master output is receiving your signals.
- Set your Booth level, and with any luck, you’ll hear the test track through your monitors.
- Turn the “Headphone Level” dial low, so the music isn’t too loud when you pop your cans on.
- Plug your headphones into your mixer, and, after a quick EQ session, you’re ready to fill that dance floor!
Final Thoughts
And that’s how it’s done! I know it seems like a lot to remember the first time around, but after a few shows, it’ll become second nature.
Until then, I’d recommend writing some cues down in a notepad as a guide, just in case you forget something or get a bit muddled. Have a great show!
We hope you love the products we recommend. We may collect a commission if you purchase through one of our links. This doesn't cost you anything extra. If you do, thank you! As an Amazon Associate, I earn from qualifying purchases.

